How to set up SSTP VPN on Windows 8
This tutorial will show you how to set up SSTP VPN on Windows 10 using the SirVPN services. If you don’t have a SirVPN account, Let's go.
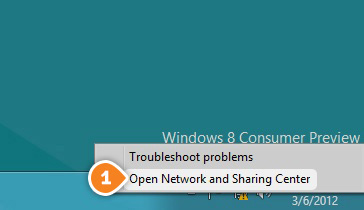
- From the network icon from the taskbar click on “Open Network and Sharing Center” (1) or you can also click on “Network and Sharing center” from the “Control Panel” section.
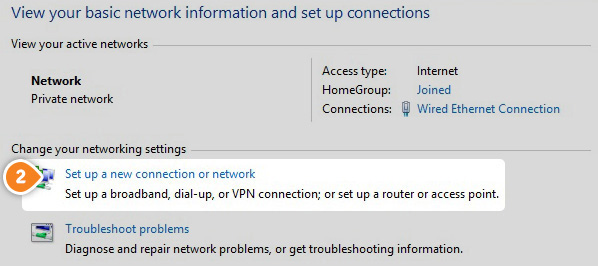
- Then click on “Set up a new connection or network” (2).
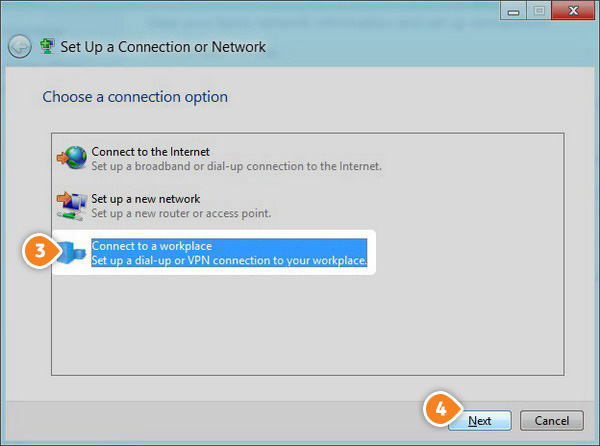
- Choose “Connect to a workplace” (3), then click “Next” (4).
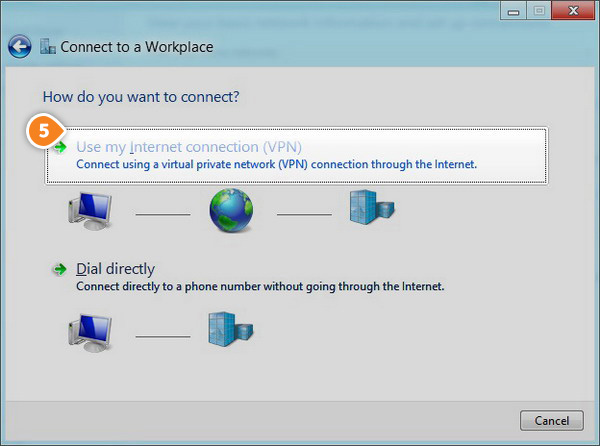
- After that select “Use my Internet Connection (VPN)” (5).
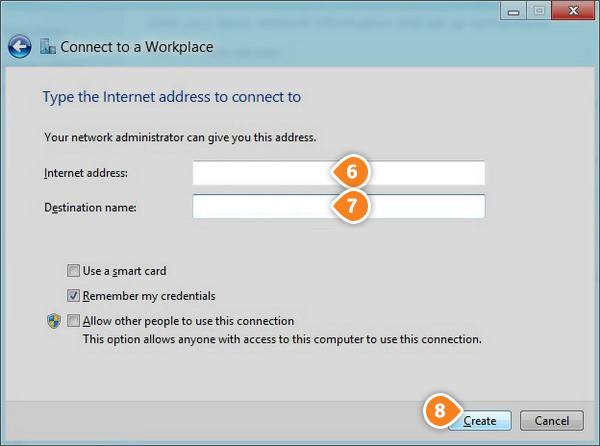
- Click on “Internet Address” field (6) and type the SSTP Hostname of the server you want to connect to.
To find the entire list of all available servers, sign in to your account on our website, go to “Setup” -> “VPN Servers“. If you don’t have a SirVPN account, you can try our services.
Type SirVPN (SSTP) in the “Destination name” (7) filed. Click on “Create” (8).
- Then click on the monitor icon (9) which is located on the lower right corner of the desktop.

- Right–click on the “SirVPN (SSTP)” connection (10), then select “Properties” (11) from the menu.
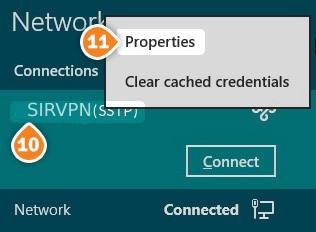
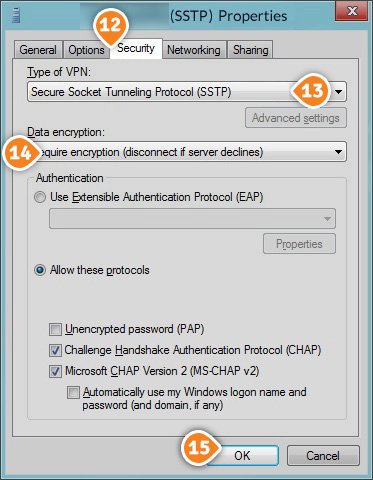
- Choose “Security” tab (12) and for “Type of VPN” choose “Secure Socket Tunneling Protocol (SSTP)” (13). Make sure that the “Require Encryption (disconnect if server declines)” (14) under the “Data encryption” is selected. Then click
“OK” (15).
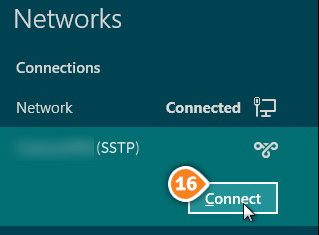
- Now click again on the monitor icon which is located on the lower right corner of your desktop, and click “Connect” (16) to “SirVPN(SSTP)”.
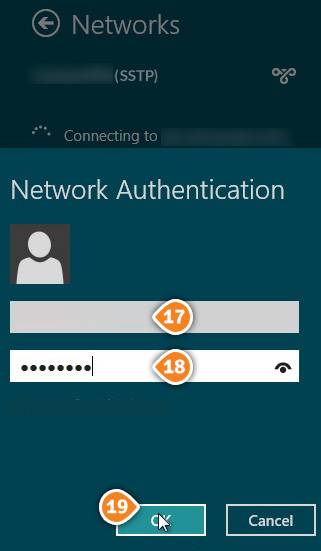
- In the username (17) and password (18) fields type your VPN username and password, then click “OK” (19).
Assure you use your VPN username and password, NOT the website account credentials. To find your VPN username and password, sign in to your account on our website, go to “Setup” -> “VPN Username & Password“. If you don’t have a SmartyDNS account, you can try our services.
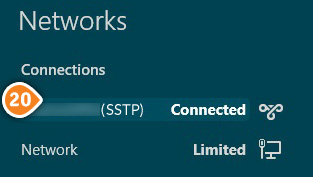
- Once you will see “Connected” next to “SirVPN (SSTP)” (20) this will mean that your connection has been created.